Cybs' Hybrid ATB 'Salt' Tek
| Note: | This page is a transcription of Cyb's Hybrid ATB 'Salt' Tek[1]. The content is to remain accurate as such. |
Contents
- 1 Introduction
- 2 Required Equipment
- 3 Step-by-Step Guide
- 4 Step One: Weighing the Bark
- 5 Step Two: Material in Container
- 6 Step Three: Acidifying
- 7 Step Four: Salting
- 8 Step Five: Basifying
- 9 Step Six: Adding the Non-Polar Solvent
- 10 Step Seven: Pulling
- 11 Step Eight: After the Freeze
- 12 Step Nine: Drying
- 13 Step Ten: Scraping
- 14 Step Eleven: Re-X (The Extra Mile)
- 15 Additional Notes
- 16 Footnotes
- 17 Reference
Introduction
This a hybridized ATB (Acid to Base) tek developed by Cyb for the extraction of DMT from small amounts of Mimosa Hostilis root bark; this is a very straightforward, and apparently high-yielding[1] method put together with the newbie kitchen alchemist in mind and using easy-to-source solvents, bases and equipment.
The tek may be suitable for extracting from other organic materials, such as acacia although only some information on yields or success rates so far.[2]
Original Post: Cyb's Hybrid ATB 'Salt' Tek
Download: PDF
Required Equipment
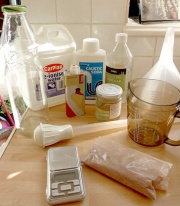
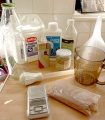
- Mimosa Hostilis Bark (Powdered)
- 1-Litre Mixing Bottle or Jar (With Lid)
- De-ionised (or Distilled) Water
- Lye (Caustic Soda)
- White (Distilled) Vinegar
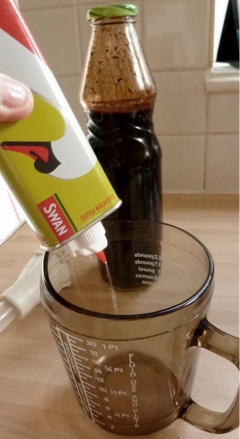
- Naphtha (Lighter Fluid, e.g. Zippo, Swan, Ronsonol, Newport)
- Spare Jam Jar (Storage of used naptha)
- Funnel
- Glass Measuring Jug
- Turkey Baster
- Scales (Milligram)
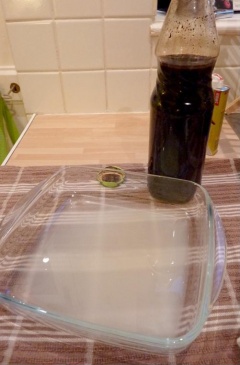
- Glass Roasting Dish (x3) (Not Shown)
- Food Wrap/Cling-film (Not Shown)
Step-by-Step Guide
Step One: Weighing the Bark
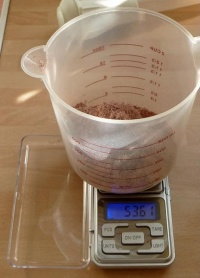
We are using 50g (approx) in this Tek.
Use powdered bark; if you have shredded bark, put it in a glass blender and whiz it up good until powdered.
Some fibrous material will remain...that’s fine.
Step Two: Material in Container
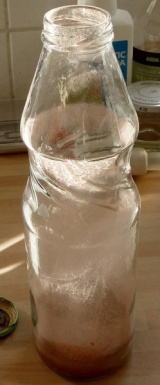
Put the Bark in the mixing bottle/jar, using the funnel if necessary. (Pinching it in with your fingers works well)
Step Three: Acidifying
- Put 200ml De-ionised water in a pan, add 60ml vinegar and bring to just boiling.
- Pour the acidic solution into the mixing bottle.
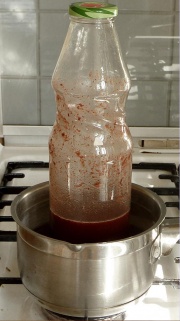
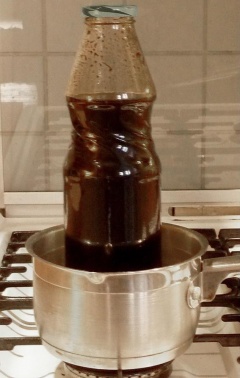
- Put some tap water in a pan and bring to the boil, then turn off the heat. (The mix throughout this tek should be 'Warm' NOT 'Hot')
- Shake the bottle and place in the heat bath.
- Shake/mix occasionally and re-heat (not to boiling) when the pan gets cool if necessary.
- Leave to soak for at least one hour.
Step Four: Salting
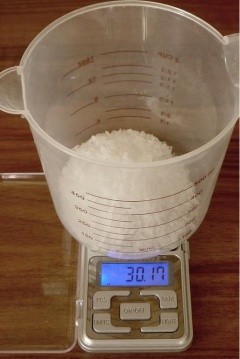
- Weigh out 30g of salt; preferably a good quality salt, although any table salt will do as long as it's NaCl. (Anticaking agents don't affect it...but don't use Iodized Salt)
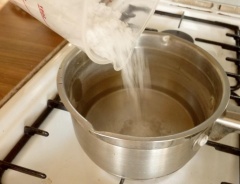
- Put 100ml of de-ionised water in a pan and heat to nearly boiling.
- Add the 30-40g salt and stir until dissolved.
- Pour the saturated saline solution into the bottle.
Step Five: Basifying
This step uses lye/caustic soda; the author offers the following caveat regarding its usage and its neutralization in the event of spillage: Caution: Lye is extremely dangerous...do not get any on your skin or eyes.
Use gloves if you have them.
Vinegar will neutralise any spills.
[Never pour Hot water on top of lye...it will react violently and splash.
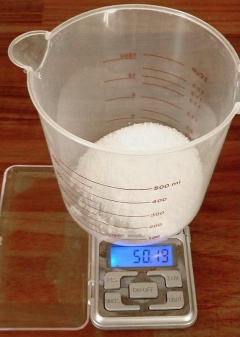
- Weigh out 50g of Sodium Hydroxide (Lye/Caustic Soda).
- Put 200ml of cold de-ionised water into the measuring jug.
- Slowly add the 50g of lye to the water and stir using a metal spoon until it is all dissolved.(Pour the lye INTO the water to avoid strong reaction and splashing)
- Carefully add the caustic solution to the bottle.
- Top up with 140ml de-ionised water to the bottle; the overall volume should be around 700ml altogether now.
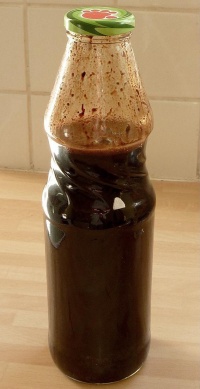
- Shake the mixture up; it should go very dark...almost black.
- Put the bottle in a heat bath as before (Warm) and soak for at least 1-2 hours, re-heating the pan if necessary.
- Shake the mixture occasionally to prevent settling.
Step Six: Adding the Non-Polar Solvent
- Measure out 50ml of naphtha (lighter fluid) and pour into the bottle.
- Lightly shake and roll the mixture in a 'figure of 8' fashion (or like peddling a bike) for 20-30 seconds.(The idea is for the naphtha to 'touch' every part of the base mix)
- Unscrew the cap momentarily to release any pressure build-up then tighten again.
- Place back in a heat bath. (Heated pulls draw more product)
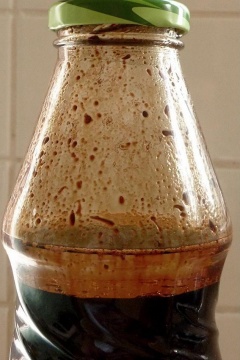
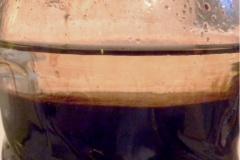
- Leave for a while until the naphtha separates again. (edit: This has been reported to take an hour or so the first time (occasionally))
- Repeat this four times (shake/separate). This should take around 45 mins.
Step Seven: Pulling
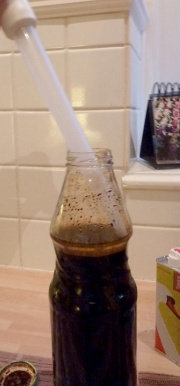
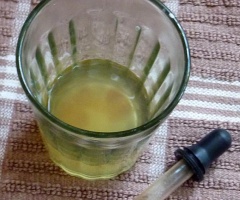
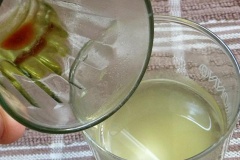
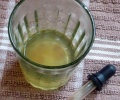
- After the 4 x naphtha mixing, carefully suck out all the naphtha from the top layer with the turkey baster and squirt it into a glass roasting dish. This takes a bit of patience and skill. Be very careful not to disturb the basified mix (black layer) - Do not suck up any of the basified mix. If you can’t get the last bit, you can suck up the naphtha and a bit of the basified mix and place them in a tall thin drinks glass and wait a short time to separate again. It will be easier to see the layering and retrieve the last bit. Use an eyedropper if necessary.
- The first pulls may be heavily saturated and turn milky when it hits the dish: This is a good sign. Later pulls may look clear or yellowy, but this is also fine.
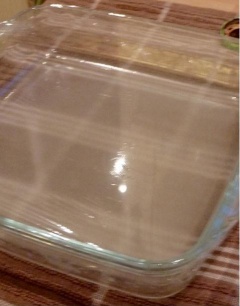
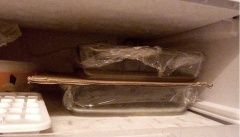
- Tightly pull food wrap around the dish to form a sealed lid, airtight and watertight.
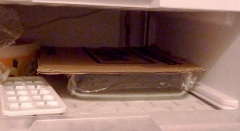
- Put the dish straight in the freezer.
- Repeat Steps Six and Seven four more times, giving five pulls in total. (more pulls if you feel that you want to)
- Place the 'pulls’ in the freezer for 12-18 hours, ideally overnight. Do not disturb them, it’s tempting to look but try not to.
edit: You can keep pulling until no more product comes out...then you can consider the bark depleted.
Step Eight: After the Freeze
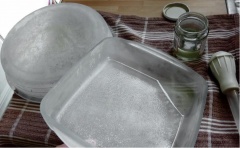
- After 12/18 hours in the freezer, take out the dishes one by one and suck out or pour out the naphtha into your storage jam jar, or you can reuse for the next pull.
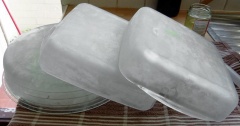
- Place the dishes upside down on a cloth for a few minutes to drain off excess naphtha.
Speed is critical here; you want to do this as fast as possible because the product will want to re-dissolve into any remaining naphtha at room temperature. Try not to get any water droplets in the dishes.
Step Nine: Drying
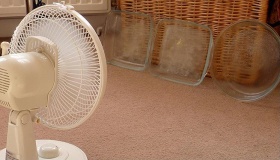
Straight away, place the dishes against a wall and blow a cold fan over them for at least 20 minutes.
You want to make sure ALL the naphtha (and any water drops) has evaporated. No smell of solvent should remain.
Product should smell faintly of Flowers or New Sneakers...
Step Ten: Scraping
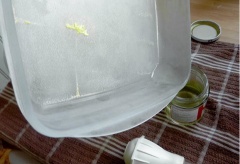
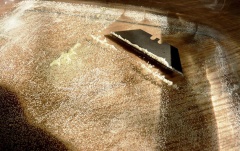
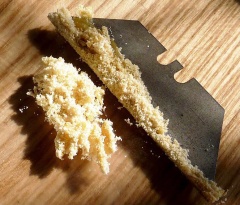
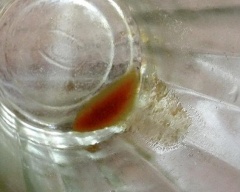
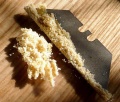
It may look like "Snow Globe" crystals or (as shown) a layer of dried gooey oil with white dots (crystals) growing on top.
- Use a blade to scrape all the crystals/oil together.
- Scrape all the dishes; you may have some in the freezer for the next day, just scrape them after the drying.
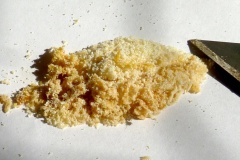
- Place on a piece of paper for further drying.
At this point, after five (or more) pulls you have around 1g of product that is perfectly useable.
(below weight shown is after only 3 pulls)
Some even prefer the yellow (full spectrum) stuff, but if you want to purify further to get whiter, fluffier crystal...here’s how.
Step Eleven: Re-X (The Extra Mile)
Required Equipment
- A small glass or shot glass for separation.
- A small glass or small dish for crystallization in the freezer.
- A jam jar for heating the naphtha.
The (Re-)Crystal Method
- Place your product in the small shot glass.
- Put around 40/50ml of Naphtha in the jar.(shown is pre-used yellow naphtha...fresh clean 'nap' would be better to give whiter crystals)
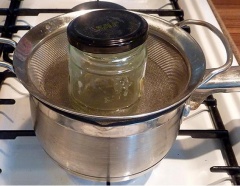
- Next place the jar in a heat bath with a sieve in the pan, this stops it bubbling too hard. The lid should be just resting on the jar to prevent fumes from escaping. DO NOT screw the lid tight! The expanding fumes will create enough pressure to explode the jar.
Heat/flames and lighter fluid = DISASTER!
- Heat the pan until boiling for a few minutes to heat the naphtha in the jar.
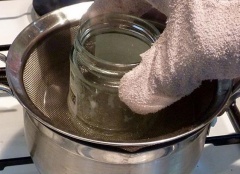
- Turn off the heat and take out the jar (use gloves, it will be hot!) and pour the naphtha into the shot glass with the product.
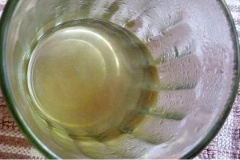
- Everything will dissolve into the naphtha and you will see the impurities start to separate and fall to the bottom. You can rest the glass in the heat bath to help if needed.
- After a few minutes you will need to decant the saturated naphtha into the other glass/dish leaving the impurities behind. Use an eyedropper if you have one or carefully pour it off. You can leave the impurities for the next time you Re-X or add a little more naphtha and try to get a little more.
edit: Remember that every little drop or smear of naphtha is loaded with product...so a good wash around with fresh naphtha will get it all.
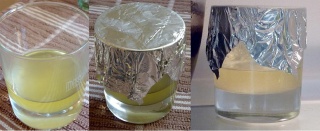
- Now take your glass and put a tin foil lid on it (plus elastic band if you like) to prevent dust and water vapour from getting in and put it in the fridge for 1 hour to cool....edit: A shallow glass dish maybe better for scraping later.
- Put it in the freezer overnight.
- In the morning after 12/18 hours of Re-crystallising you will need to pour off the remaining naphtha and dry with a fan as before. It will take a lot of drying as the crystal layer will be deep and needs to be completely free of solvent.
- Scrape out and marvel at your handy work...Around 1g of fluffy product from 50g of bark.
Additional Notes
- Although I have included an acidic bath to begin with, this can be omitted and the extractor can go STB (Straight-To-Base) if they wish: Just start with the salt (Step Four) and make sure you end up with 700ml of liquid.
- You can also omit the heat baths if you want to do the Tek 'cold' although the yield maybe affected.
- This Tek should produce around 2% Yield depending on the bark used, that's 1g of product per 50g of bark which equated to around 30-40 hits; enough for any beginner!
- New research by users indicate that salt can be used (with good results) with Acacia Extractions inc. A/B
(Just add salt at the Basification Stage (Step Five))
Info on salting: Salt
Methods of administration: The Machine - Cyb's Machine.
Footnotes
[1] See responses to the original thread where yields of up to 1.4g of DMT have been reported from 50g of MHRB.
[2] As of 04/12/12: This information is subject to change.
Reference
Step One: Equipment List Step Two: Weighing The Bark Step Three: Acidifying Step Four: Salting Step Five: Basifying Step Six: Adding the Non-Polar Solvent Step Seven: Pulling Step Eight: After the Freeze Step Nine: Drying Step Ten: Scraping
