Difference between revisions of "The Inspirator"
From DMT-Nexus Wiki
m (→Procedure for Construction) |
m (→Administration.: note for risks of ceramic fiber) |
||
| Line 70: | Line 70: | ||
===== Administration. ===== | ===== Administration. ===== | ||
| + | |||
| + | {{ShowInfo|[[Image:Note_error.png]]|'''Note:'''|Thought the risk is likely quite minimal, inhalation of ceramic fiber particles can be hazardous to the lungs. However, the use of a bubbler and proper construction will help to minimize this risk.}} | ||
# Place product into the open end of the stem and stuff down to the screen with a thin rod. | # Place product into the open end of the stem and stuff down to the screen with a thin rod. | ||
Revision as of 00:29, 4 March 2010
| Note: | This page tracks the development of The Inspirator[1]. The content is to remain accurate as such. |
|
in·spi·ra·tor (ĭn'spə-rā'tər) n.
[From Late Latin, from inspirare 'to inspire' (from in- + spirare 'to breathe') + -tor; cognate with, and possibly derived via, English or German] |
|---|
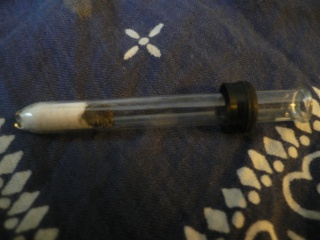
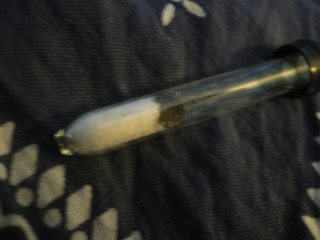
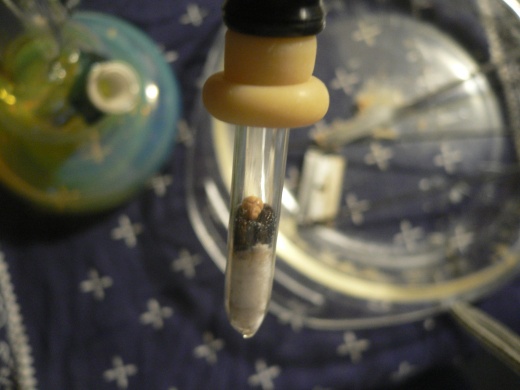
The Inspirator is considered by its designer to be the criterion of efficiency for vaporizing spice, and to be a cheap and effective method of achieving sufficiently cool, full, measured doses. The device is inspired in part by The Machine but operates by convection heating--diffusing the heat through a ceramic heat-sink, in turn heating the airflow--rather than conduction. This design is the final evolution of The Mini-Machine Bubbler Stem.
Contents
Procedure for Construction
- Carefully crush the nozzle of the dropper stem with pliers, leaving a slight portion of the nozzle's curve.
- be sure to wash out any lingering pieces of glass.
- Melt the broken end of the stem with a torch so that the sharp edges are dulled and any cracks sealed.
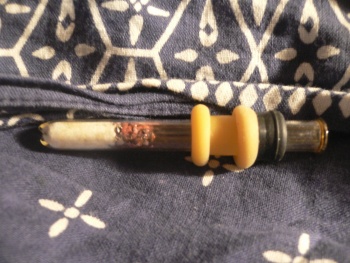
- Cut a segment of ceramic fiber, and use a thin metal rod to stuff it down toward the nozzle-end snuggly, and so that a part of the ceramic is exposed out of the heat intake.
- Ensure that the screen to be used is heat resistant by applying direct flame with the torch, and if smoke emits, continue to burn until no more can be observed.
- alternatively, a small metal mesh plug can be prepared from steel or copper scrub-pad in the same manner.
- this is the absolute highest temperature this piece will ever reach and will remain inert while in use.
- After it has cooled, use a chopstick or another cylindrical device thin enough to fit the inside of the dropper stem to apply pressure to the center of the screen while bending the edges up and around the device to mold it into a form that will fit snuggly in the stem.
- Carefully push the screen as snuggly as possible atop the ceramic fiber plug in the piece, working edges down between the glass and the plug.
- Fit two gaskets on the stem far enough from the plug to avoid heat but far enough from the other end to provide a stable stem.
- alternatively and more cheaply, a small section of latex tubing could be rolled or folded into a ring around the stem to serve the same purpose.
Calibration
Administration.
| Note: | Thought the risk is likely quite minimal, inhalation of ceramic fiber particles can be hazardous to the lungs. However, the use of a bubbler and proper construction will help to minimize this risk. |
- Place product into the open end of the stem and stuff down to the screen with a thin rod.
- Feather the glass with a torch until the product melts into the screen.
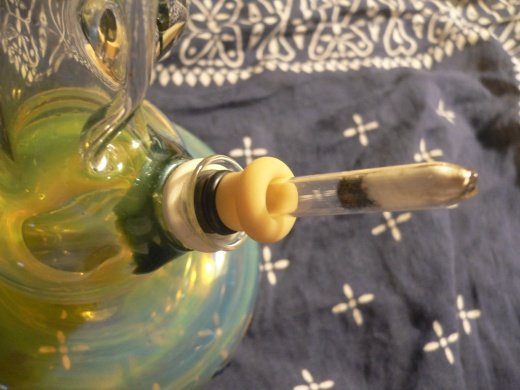
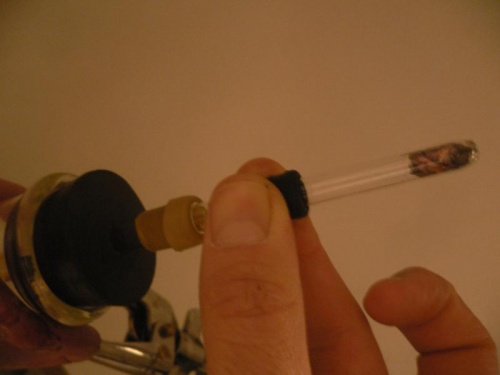
- Insert the stem into a bubbler as a bowl, with the open end in.
- Use a torch to apply heat to the exposed ceramic portion of the plug while drawing air through the bubbler.
- keeping some distance with the torch is recommended to avoiding burning or overheating.
- Only apply heat until a decent amount of vapor can be observed in the chamber, carb the bubbler immediately but briefly, and continue to apply heat and inhale in the same manner.
- once the device reaches a sufficient temperature, it will give off vapor rapidly and will not necessarily require continued heat application, but continue to heat periodically during the draw to ensure complete vaporization.
- if the vapor emits too slow or becomes harsh--either hot or burnt--this is due to inadequate airflow through the plug and must be calibrated with a safety pin for the device to operate properly.
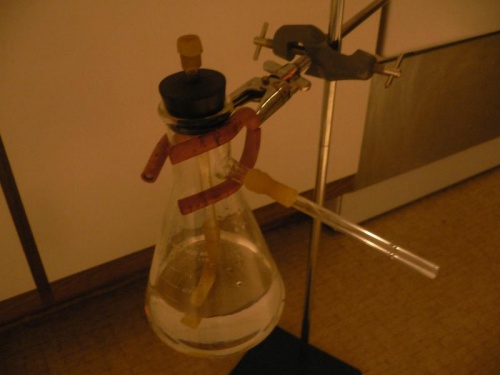
| Use with an Improvised Labware Bubbler | ||||||
|---|---|---|---|---|---|---|
|
Notes on Effective Use and Maintenance
| for Cleaning The Inspirator | |
|---|---|
|
- A handy method for storing the piece would be to cap the nozzle end with the dropper bulb in order to protect from breakage and keep track of the bulb to use when cleaning.
- A second gasket generally makes the piece safer to handle--especially if used as a pull stem--while the other provides a seal.
- For group sessions, it would be easiest to prepare an individual piece for each person so that dosage can be more easily regulated.
- When handling the piece after heating, handle by the gasket and avoid any part of the heated portion of the glass coming into any contact with hard surfaces.
- A good way to cool down a stem is to roll it rapidly between the palms, drawing the heat off the glass with one's hands.
- If the the nozzle end of the piece breaks off at any point, carefully push the plug to the other end of the piece when it has sufficiently cooled, heat the sharp edges until dulled, and push the plug back into place firmly, with a finger in place causing the plug to mushroom slightly until it fits snugly in place.
- Ensure adequate airflow through the piece by poking holes in the plug with a safety pin.
- Develop a relationship with the device.
Appendices
Special Thanks
