Difference between revisions of "The Mini-Machine Bubbler Stem"
From DMT-Nexus Wiki
m (→Administration.) |
(new tip for administration) |
||
| Line 46: | Line 46: | ||
# Use a torch to apply heat to the mesh plug while drawing air through the bubbler. | # Use a torch to apply heat to the mesh plug while drawing air through the bubbler. | ||
#* ''keeping some distance with the torch is recommended to avoiding burning or overheating.'' | #* ''keeping some distance with the torch is recommended to avoiding burning or overheating.'' | ||
| + | # If runoff occurs, push the mesh plug to the open end, then back down to the nozzle end to collect it for further administration. | ||
<table> | <table> | ||
<tr> | <tr> | ||
Revision as of 07:45, 12 December 2009
| Note: | This page tracks the development of amor_fati's Mini-Machine Bubbler Stem[1]. The content is to remain accurate as such. |
The advantage of The Machine is that having a copper or steel mesh between the product and the flame protects the product from direct contact with the flame as well as distributing the heat of the flame evenly and rapidly to the product. However, most have a difficult time constructing one in the recommended fashion. Also, many prefer to cool their vapor by bubbling it through water prior to administration, and a properly fashioned "machine" does not easily facilitate this. The following is a proposal for remedying both difficulty in construction and lack of versatility by a simple modified design of "the machine."
Contents
Procedure for Construction
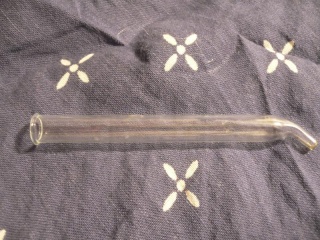
- Carefully crush the nozzle of the dropper stem with pliers, leaving a slight portion of the nozzles curve.
- Heat the broken end of the stem with a torch so that the sharp edges are dulled and any cracks sealed.
- Cut off a piece of the metal scrub pad, hold it with pliers, and burn with a torch under an oven hood until no more smoke is emitted.
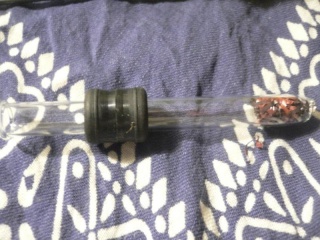
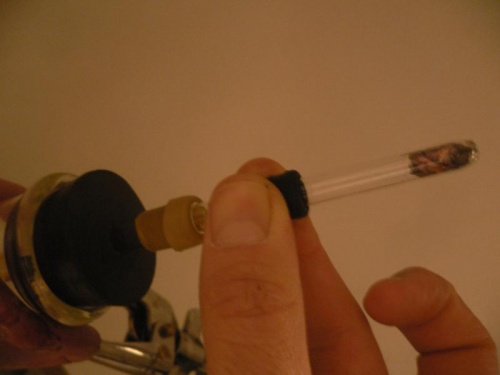
- After it has cooled, stuff it in the larger end of the dropper stem, and use a thin metal rod to stuff it down toward the nozzle-end somewhat tightly, and so that a part of the mesh is exposed out of the broken end.
- experiment with different lengths of plugs to determine what size is optimal for preventing runoff and providing even, rapid heating.
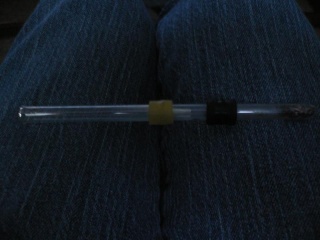
- Fit two gaskets on the stem far enough from the plug to avoid heat but far enough from the other end to provide a stable stem.
- alternatively and more cheaply, a small section of latex tubing could be rolled or folded into a ring around the stem to serve the same purpose.
Administration.
- Place product into the open end of the stem and stuff down to the plug with a thin metal rod.
- Feather the glass with a torch until the product melts into the mesh plug.
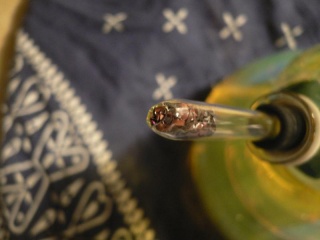
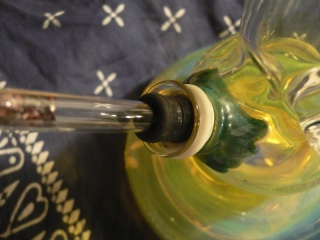
- Insert the stem into a bubbler as a bowl, with the open end in.
- Use a torch to apply heat to the mesh plug while drawing air through the bubbler.
- keeping some distance with the torch is recommended to avoiding burning or overheating.
- If runoff occurs, push the mesh plug to the open end, then back down to the nozzle end to collect it for further administration.
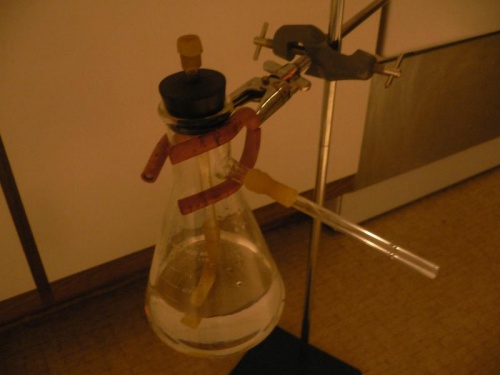
| Use with an Improvised Labware Bubbler | ||
|---|---|---|
|
For those unable to easily obtain a proper bubbler. |
Notes on General Use and Maintenance
- To clean the piece:
- Attach a chemically resistant dropper bulb to the open end.
- Prepare a flask of acetone.
- Draw in the acetone and squirt out through the plug until sufficiently clean.
- Scrub with a q-tip.
- Carefully blow out remaining acetone.
- Scrub out moisture with the other end of the q-tip
- Ensure the absence of residual acetone prior to use.
- The second gasket generally makes the piece safer to handle--especially if used as a pull stem--while the other provides a seal.
- For group sessions, it would be easiest to prepare an individual piece for each person so that dosage can be more easily regulated.
- When handling the piece after heating, handle by the gasket and avoid any part of the heated portion of the glass coming into any contact with hard surfaces.
- A good way to cool down a stem is to roll it rapidly between the palms, drawing the heat off the glass.
- Ensure adequate airflow through the piece by poking holes in the plug with a safety pin.
